Spring is the best time to transplant tropical plants. Plants are tired of their depleted winter soil, and the roots will have all summer to re-establish and grow into new digs before resting again next fall.
Repotting is done:
- when there are more roots than soil in the pot (soil provides support for the plant to take up water and nutrients essential for plant growth)
- when the plant has stopped growing (could be the sign that new space is needed for plant roots)
- to provide fresh new soil for a boost of nutrients
- to remove damaged roots and revitalize the plant
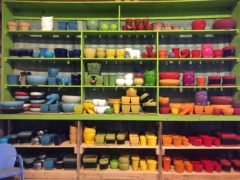
- to move to another style of container
- to divide offshoots and create even more plants!
A one to three-inch increase in size is a good choice for growing tropicals to a larger size. To repot in the same container, roots can be pruned along with cutting back some top growth. If you are planting into a container without drainage holes, plant into a plastic pot that fits inside your decorative pot to allow for proper drainage.
- Remove the plant from its current container by squeezing the sides to loosen the roots and/or running a knife around the inside of the pot. Particularly tenacious plastic containers can be cut off if needed. Flip the container upside down with a hand over the top of the container—larger plants can be placed on their side. Then give a tug or a tap.
- Once the plant is out of its container you can gently tease the roots to loosen them and remove any dead roots and depleted soil chunks. Especially root-bound plants can be difficult to suss out—take your time.
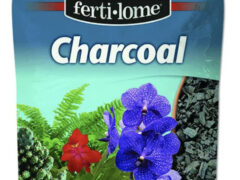
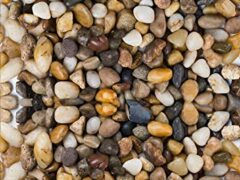
- Add horticultural charcoal, gravel, or broken pottery to the bottom of the new pot to provide extra space for drainage before adding fresh potting mix.
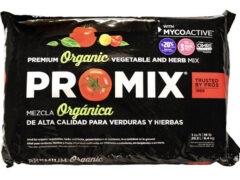
- Fill the bottom of the new container with fresh new potting mix and place the plant in the new container to check the height. The base of the stem of the plant should be below the rim of the pot. Remove excess potting mix until the plant sits at the right height in the new pot.
- Add fresh potting mix around the sides of the plant roots and pack down lightly with your fingers. Make sure the plant is snug in the container but not compacted.
- Water thoroughly to soak the soil throughout the container. Let the soil settle after watering and add some more potting mix if it has sunk away from the roots. Let drain thoroughly. Add decorative gravel to the top if desired.
- Add fertilizer to boost new growth at the next watering and continue a regular fertilizer schedule after about 2 weeks according to the instructions on your preferred fertilizer. We recommend Espoma and Arber liquid fertilizers, and also Espoma granulated fertilizer. All do a great job of keeping plants healthy without risk of burning.